Braided Updo

Love these DIY ideas as much as we do? Stay up to date on our latest findings by liking our facebook page at Home and Heart DIY Facebook!

Braided Updo


This look is perfect for an elegant night out, bridesmaid up do, or even the bride! As a hair stylist, I must confess that I have done different variations of this up do on multiple brides over the past year, and it’s just beautiful. It fairly easy to do if you can french braid on yourself.

Start on one side of the head and begin to braid, moving toward the other side of the head. Make sure you’re pulling bigger sections of hair into the braid in order to make it look a little relaxed. once you reached the nape of the neck on the opposite side of the head you started on, finish the braid and secure with a hair elastic (my preference is always a clear elastic so it’s not seen). Wrap the braid around itself into a bun shape and secure with pins.

Voila! You’ve got yourself a beautiful elegant up do!

(Source)
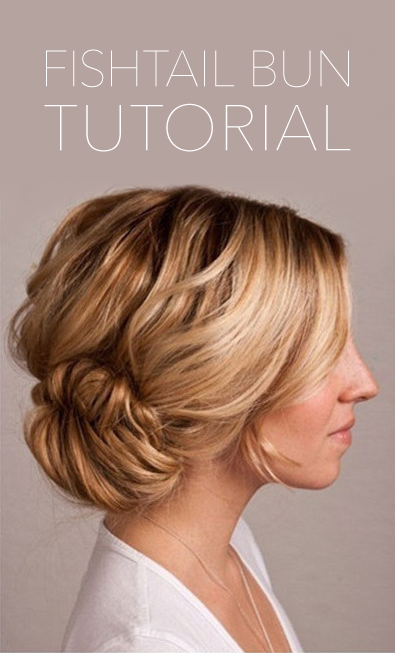
Fishtail Bun Tutorial!

Love these DIY ideas as much as we do? Stay up to date on our latest findings by liking our facebook page at Home and Heart DIY Facebook!

Here’s a super cute hair tutorial you can try! Could be perfect for a wedding or special event, and looks like it would be perfect for hair with a bit of a natural wave.

fishtail_hair2

fishtail_hair

Instructions

1) Start with adding some texture to your hair. This will help add some hold, and contribute to that messier look. I’d go with a dry shampoo at the roots, and a salt spray on your mid lengths and ends. Tease the crown area (not too much. You never want to see the tease!). Then do a fishtail braid. This one is done with a side part, but it doesn’t have to be!

2) Then pull the braid apart to loosen it up a bit.

3) Twist it into a bun and secure with pins.

So pretty!

Source- Once Wed

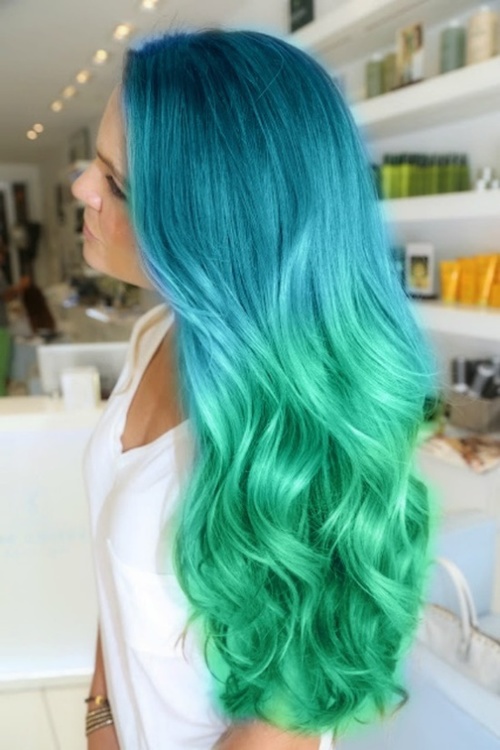
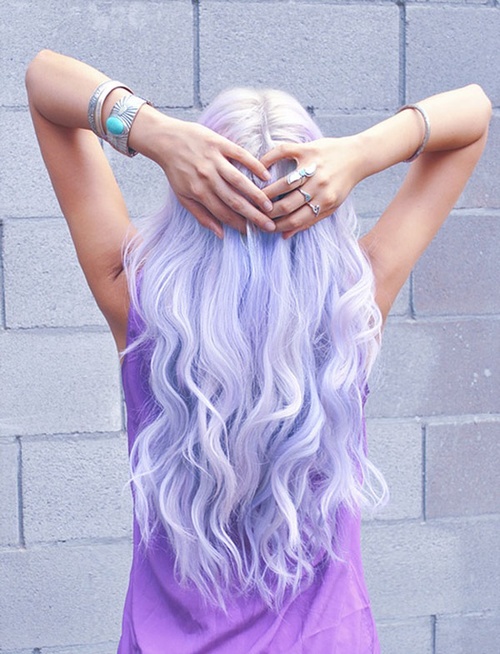
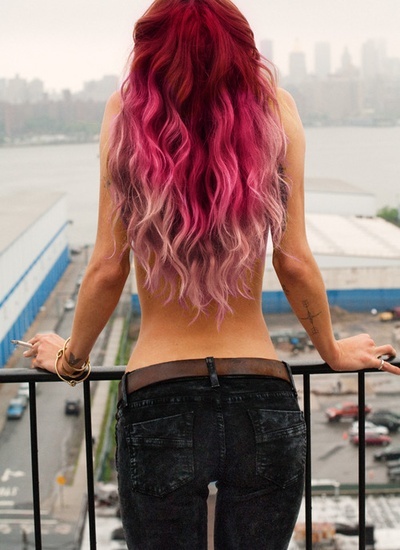
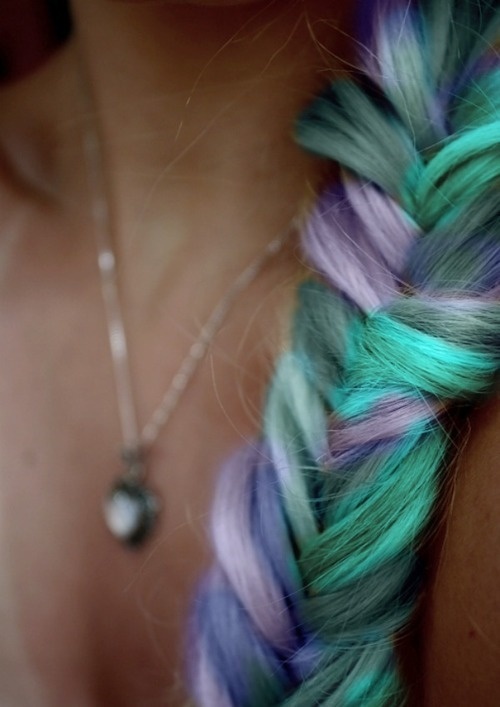
4 Awesome Colored Hair Styles!

Love these DIY ideas as much as we do? Stay up to date on our latest findings by liking our facebook page at Home and Heart DIY Facebook!

I’m seeing these beautiful bright vibrant Ombre hair colors more and more these days. It’s crazy what we are able to do with color now. I don’t think I’d be bold enough to go for a look like this but I do think they’re gorgeous!

hair3

hair2

hair1

hair4

(image sources: We Heart It)

Knotted Ponytail

Love these DIY ideas as much as we do? Stay up to date on our latest findings by liking our facebook page at Home and Heart DIY Facebook!

New spins on old standby’s are absolutely alright in my book! This spin on the ponytail is great for dirty hair days, bad hair days, and regular ole’ hair days! It looks more complicated than it is.

Separate the hair into two sections. Tie hair in a knot.Repeat once or twice (it’s all up to you!). Pin it in place and you’re done! Cute and easy!

Knotted Pony Tail

(Via Refinery 29)

All Natural DIY Self Tanner

Love these DIY ideas as much as we do? Stay up to date on our latest findings by liking our facebook page at Home and Heart DIY Facebook!

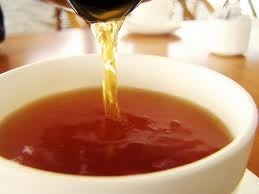
This is a really cool idea, and one that I’ve never heard of before! Self tanners are a risky product to buy. Does it smell nice? Will it leave me looking orange? Will it be streaky? How long will it last? And the list of unknowns goes on and on, not to mention not knowing what chemicals are in those tanners. Well what about tanning with tea?! Apparently this is a concept that goes back to WWII. Women couldn’t get their hands on nylons, so they would spray their legs with tea and draw a line on the back of their legs to make it appear they were wearing them! How cool is that?!

Tea bag tanning

I love that this is an all natural, inexpensive, easy solution to add color to your skin! See Absolutely Pure for directions!

Get Whiter Nails!

Love these DIY ideas as much as we do? Stay up to date on our latest findings by liking our facebook page at Home and Heart DIY Facebook!

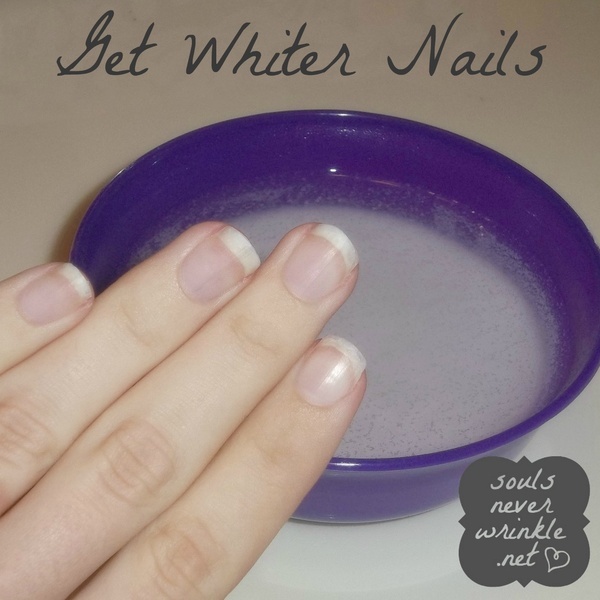
As a chronic nail painter myself, this little solution could very well be the key for me to go au natural with my nails without them looking yellow and stained! Yay!

1. Buff the nail to get any surface stains off.

2. Combine 1/2 cup of hot water, 4 tablespoons of baking soda (stir that until it mostly dissolves – it won’t dissolve all the way) and 2 tablespoons of peroxide.

3. Allow your nails to soak for about a minute each hand. (Or more if you’d like, but a minute is really all you’ll need!)

4. Show off your beautiful nails!

white nails

(Source: Souls Never Wrinkle)

DIY Headband

Love these DIY ideas as much as we do? Stay up to date on our latest findings by liking our facebook page at Home and Heart DIY Facebook

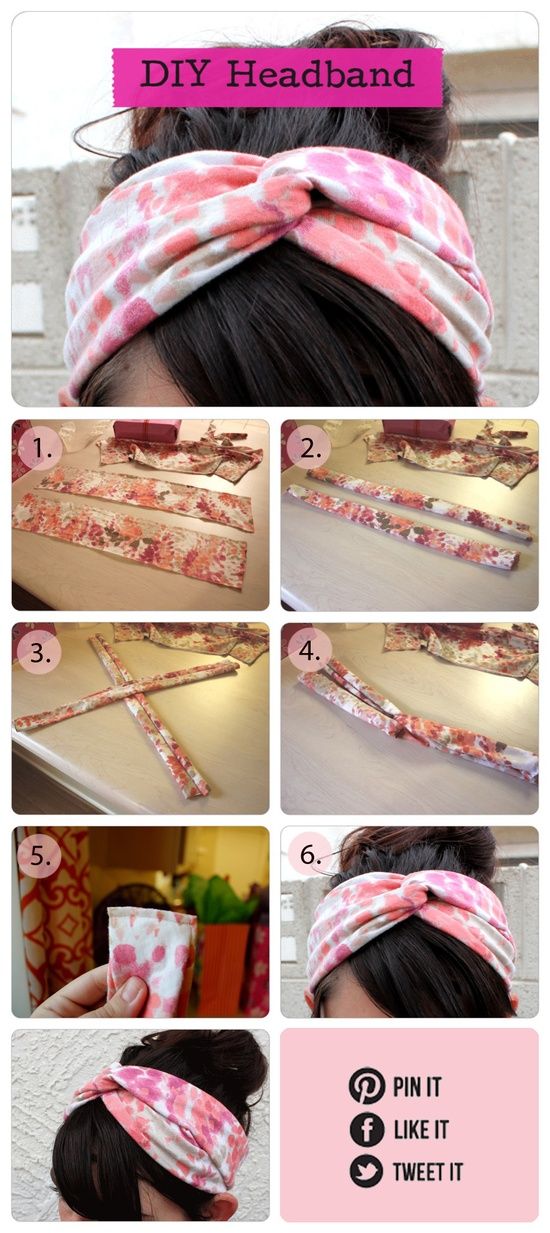
Remember that whole turban fad? It was short lived, thank God! I always thought they looked so silly, but there were certain aspects that I liked. I think this DIY headband incorporates all the good things that the turban had to offer, but in headband form which is just more practical. I love this headband look with the hair up in a pony tail or with the hair down and the headband placed over the crown of the head!

DIY headband

I found this picture on Pinterest and couldn’t find the original source for more detailed instructions. You will definitely need some basic sewing skills to attach the two pieces of fabric (or if you’re lazy like me, a glue gun might work just fine too! Ha!)

Salt Scrub

Love these DIY ideas as much as we do? Stay up to date on our latest findings by liking our facebook page at Home and Heart DIY Facebook

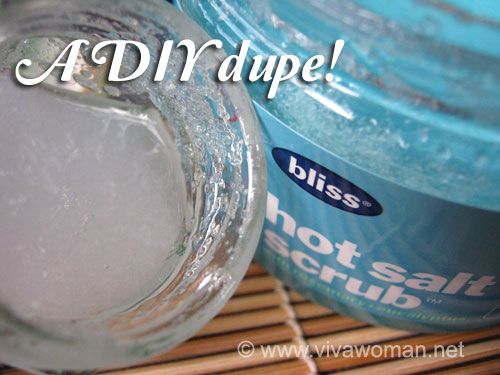
Bliss is an excellent brand, and I am a fan of so many of their products! As some of you may know, they are not the cheapest brand for sale out there, so to find a DIY for a dupe of one of their products is just grand! This scrub is pretty coarse, so please, please, please do not use this on your face!

DIY Salt Scrub

Visit Viva Woman to see the recipe!