DIY TUCK AND COVER HALF

Love these DIY ideas as much as we do? Stay up to date on our latest findings by liking our facebook page at Home and Heart DIY Facebook!

The tuck and cover is very cute, and a great way to help keep hair out of your face.

Tuck-and-Cover-Half-2


I love this, this is a great way to be able to wear a head band, as well as keep hair out of your face. Besides, it’s just cute. There is a great tutorial by Missy Sue that would be good to check out.

Hair Bow Hair-do

Love these DIY ideas as much as we do? Stay up to date on our latest findings by liking our facebook page at Home and Heart DIY Facebook!

Sometimes, you just have to put a bow on it…

hair bow

This hair bow takes it to a whole new level. This is such a great, creative way for a new half do. You could rock this for a night out, a wedding, or even everyday. Found over at Hair and Make up by Steph she walks you through, step by step how to create this bow hair, half up style.

“Great Gatsby” Tuck And Cover Hair Tutorial

Love these DIY ideas as much as we do? Stay up to date on our latest findings by liking our facebook page at Home and Heart DIY Facebook!

The Tuck and Cover is one of my favorite hair styles. So lovely and so easy (see my previous post on it here). Here is a variation to the traditional “tuck” that brings some 1920s style!  What could be better than combining a hairstyle I love and a decade that I love? Not much!
"Great Gatsby" Hair Tutorial


Try it out and let me know what you think! Here is the link…Missy Sue

Blow Dry Basics

Love these DIY ideas as much as we do? Stay up to date on our latest findings by liking our facebook page at Home and Heart DIY Facebook!

It’s back to the basics people! The basics in blow drying that is!
Blow Drying Basics


It isn’t worth doing if your not doing it right! Get a refresher on this beauty basic-The Beauty Department

“Just Bend The Ends” Hair Tutorial

Love these DIY ideas as much as we do? Stay up to date on our latest findings by liking our facebook page at Home and Heart DIY Facebook!

Sometimes you just need something simple to get your hair styled. How about a “Just Bend the Ends” hair style?
Just bend the ends hair tutorial


Start with some volumizer and a big curling iron (maybe two inches). These curls will loosen up and only become more beautiful and frame your lovely face as the day goes on! It is easy, but check out this great “Just Bend The Ends” Hair Tutorial-The Small Things

Go-to Up-do Hair

Love these DIY ideas as much as we do? Stay up to date on our latest findings by liking our facebook page at Home and Heart DIY Facebook!

I am still in love with messy hair! I can’t help it. I am rocking the high messy buns and pony-tails like a pro. This Go-to Up-do Hair Style is the perfect blend of both.
Go-to Up-do Hair


Don’t you just love it! Messy and classy. I knew I could have both~Follow the link and fall in love!- ElfSacks

Casual Half Up Tutorial

Love these DIY ideas as much as we do? Stay up to date on our latest findings by liking our facebook page at Home and Heart DIY Facebook!

Um. Yes, please! I am looking for something new. It is time to branch out from my normal straight or ponytail routine. But I still need simple! This Casual Half Up Hair Tutorial is just within my skill levels.

Casual Half Up Hair

Casual Half Up Hair

So much to be said for simple and elegant. How could you not love this?! No possible way! Go check and this and tons of other hair styles at The Small Things blog

Braided Updo

Love these DIY ideas as much as we do? Stay up to date on our latest findings by liking our facebook page at Home and Heart DIY Facebook!

Braided Updo


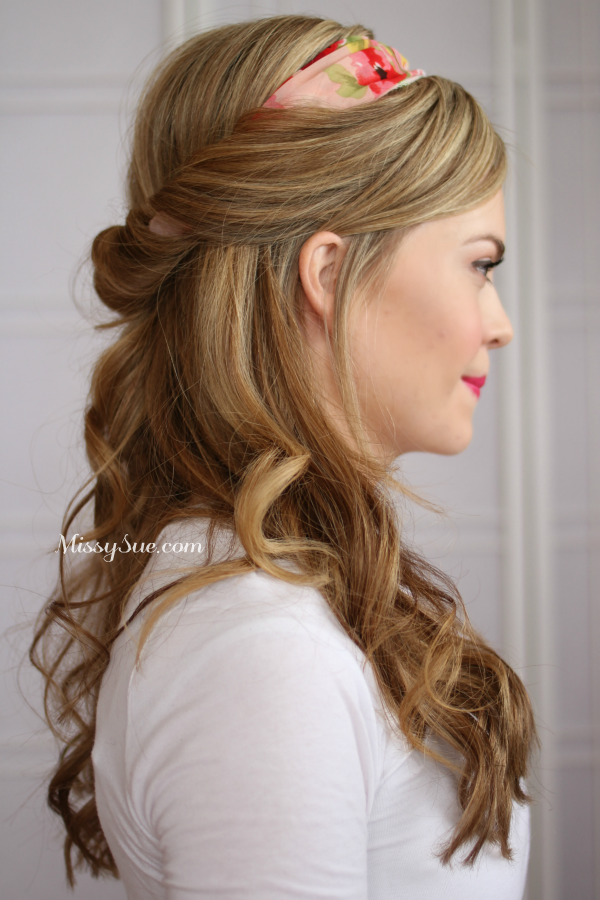
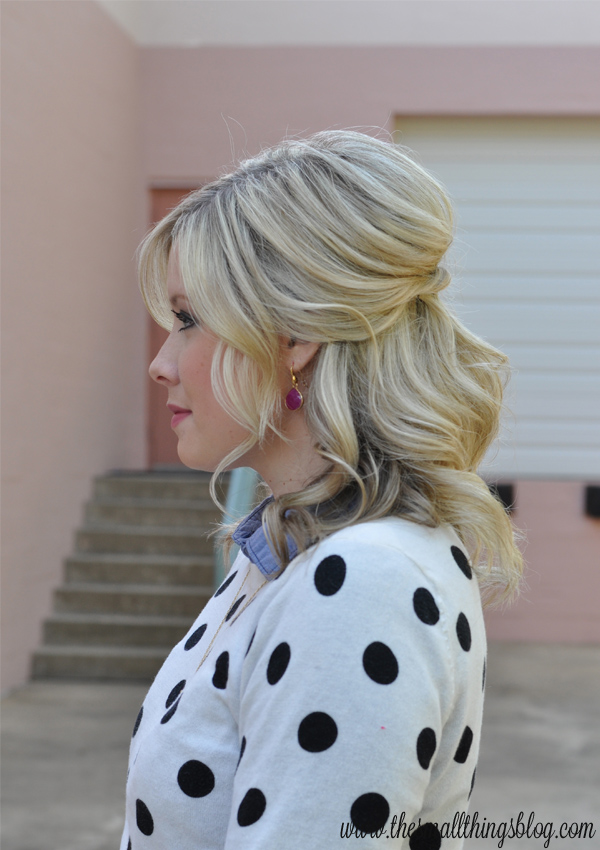
This look is perfect for an elegant night out, bridesmaid up do, or even the bride! As a hair stylist, I must confess that I have done different variations of this up do on multiple brides over the past year, and it’s just beautiful. It fairly easy to do if you can french braid on yourself.

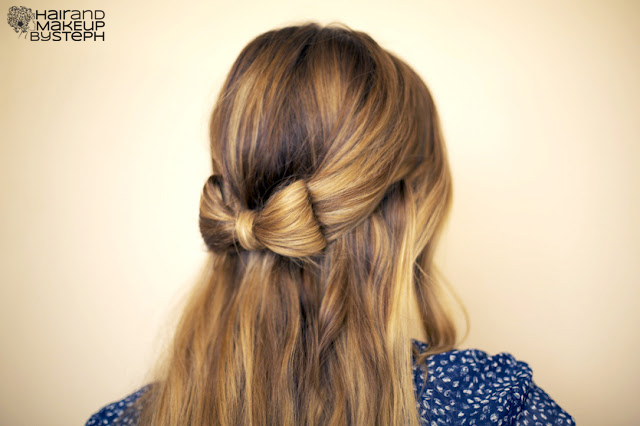
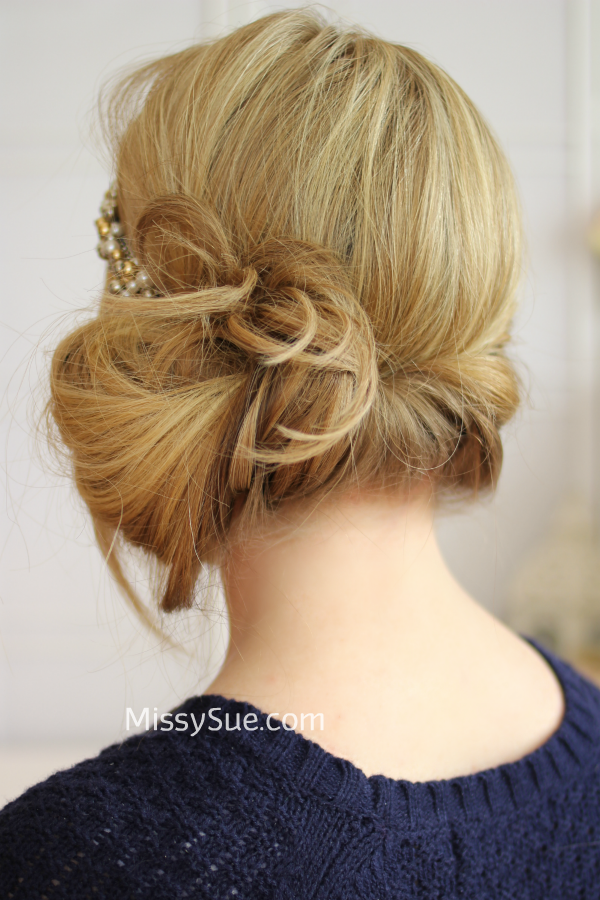
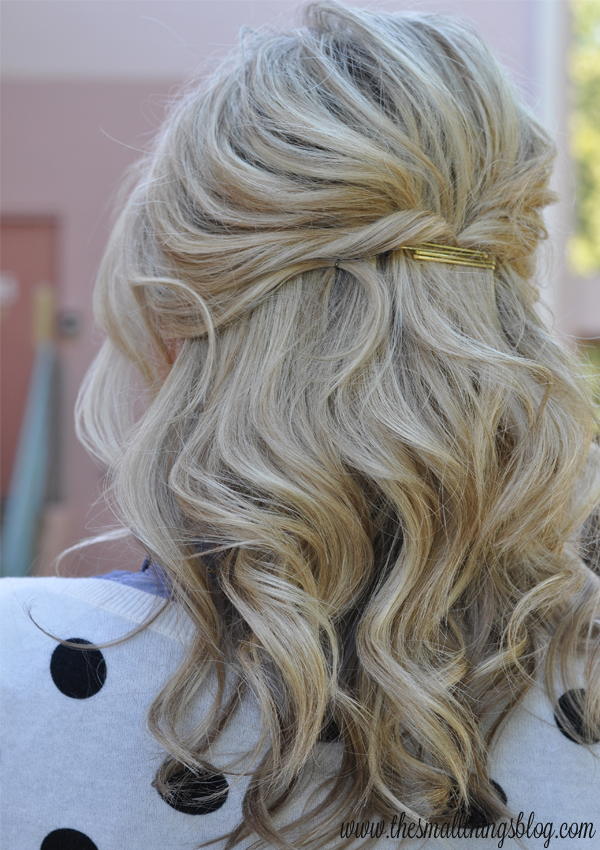
Start on one side of the head and begin to braid, moving toward the other side of the head. Make sure you’re pulling bigger sections of hair into the braid in order to make it look a little relaxed. once you reached the nape of the neck on the opposite side of the head you started on, finish the braid and secure with a hair elastic (my preference is always a clear elastic so it’s not seen). Wrap the braid around itself into a bun shape and secure with pins.

Voila! You’ve got yourself a beautiful elegant up do!

(Source)