DIY Hot Chocolate

Love these DIY ideas as much as we do? Stay up to date on our latest findings by liking our facebook page at Home and Heart DIY Facebook!

I am so excited for fall! Now that it is here I am on board and I don’t miss summer much anymore! Things like DIY Hot Chocolate make me love the season even more!

DIY Hot Chocolate


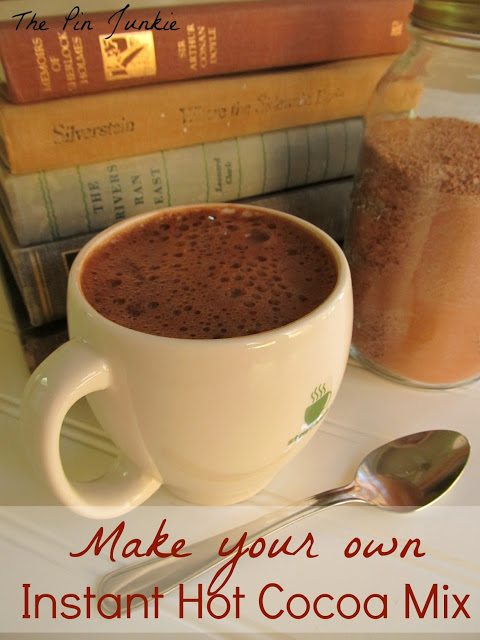
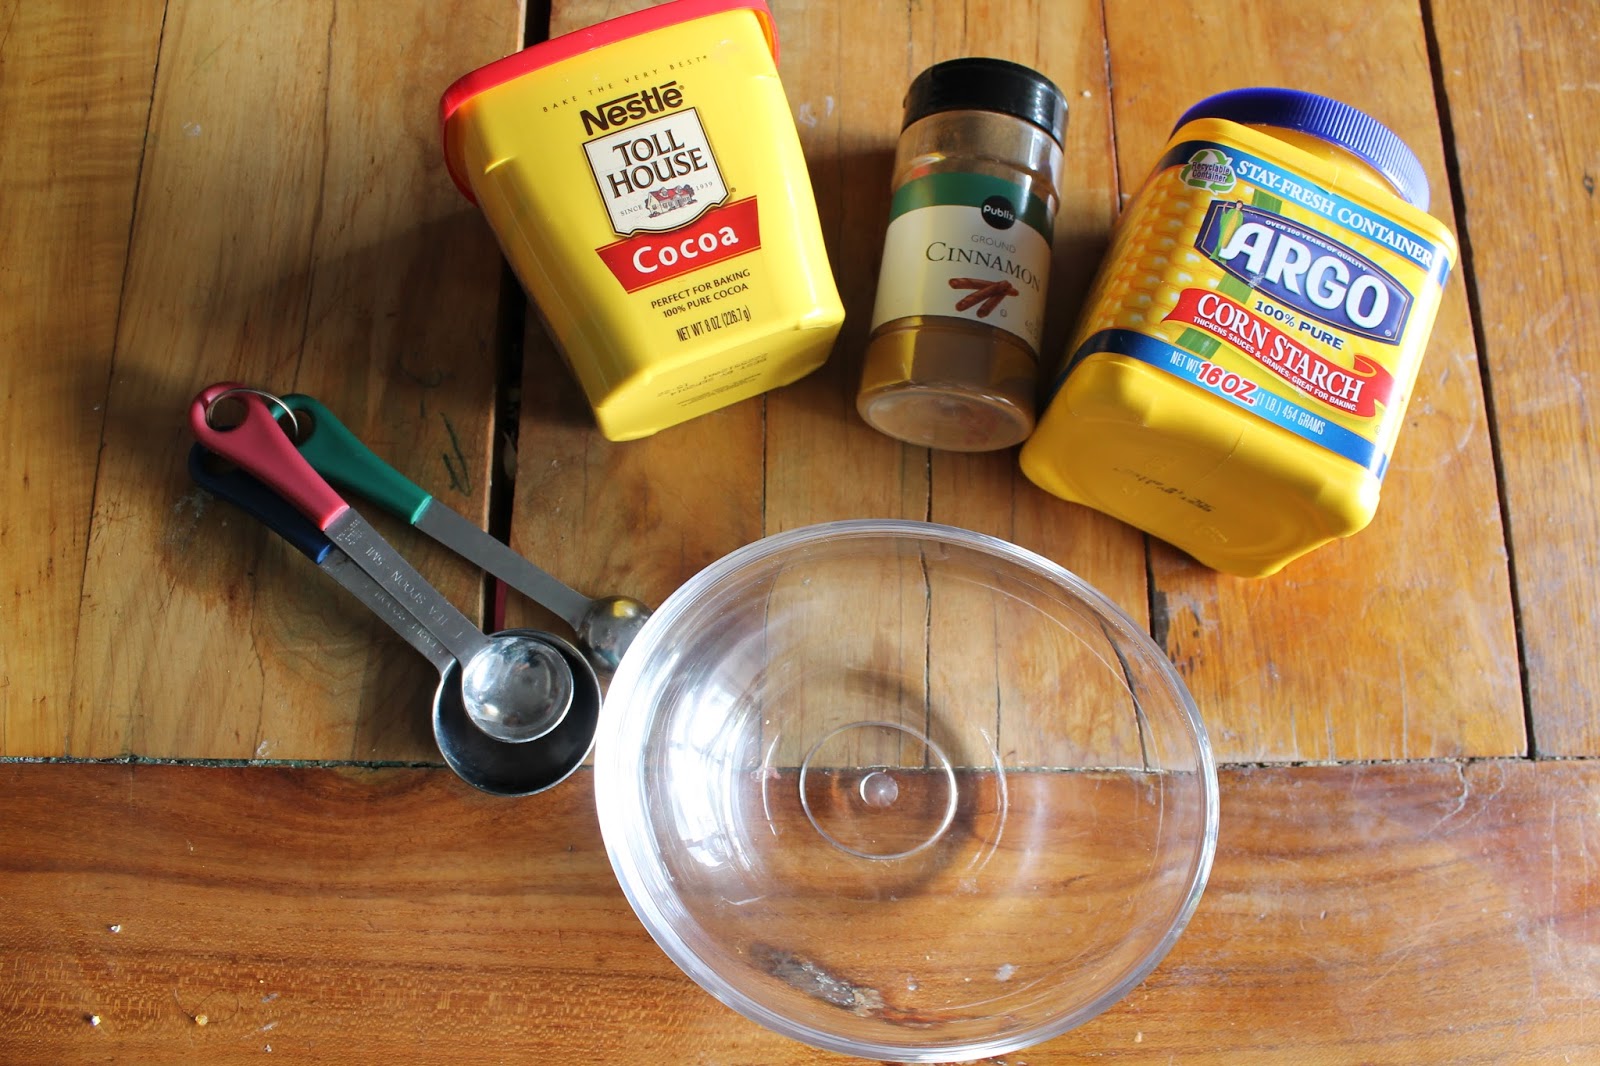
I have already run up the gas bill a bit sitting infront of the fire reading and sipping tea. I love hot cocoa almost as much as I do tea! Now I have a delicious DIY and I will never run out!  Gather together: 2 cups nonfat dry milk powder, 3/4 cup sugar, 1/2 cup Hershey’s cocoa, 1/2 cup powdered non-dairy creamer, and a dash of salt. Mix it all up and store it in an air tight container and you are good to go. Grab a favorite mug, heat some water, and flavor to taste. Hooray for fall. Follow the link to find this delicious DIY Hot Chocolate-The Pin Junkie 

DIY Distressed Vase

Love these DIY ideas as much as we do? Stay up to date on our latest findings by liking our facebook page at Home and Heart DIY Facebook!

Fall has come in a blaze of glory! Caramel apple cider, beautiful trees, warm scarfs and boots, warm fires, and cold noses. My house has all of these things but the one thing that is missing is fall decor! I need to hurry up and decorate for my fav season and a DIY Distressed Vase will fit right in!
DIY Distressed Vase


I love easy projects that come out looking fabulous! My favorite crafts seem to only need 3-4 things and this is no exception. I love this distressed look! I am going to use it for fall decorations now, but I know I can make the whole year round! Check out the DIY Distressed Vase Turorial at Fox Hollow Cottage

DIY Cheese Grater Lantern

Love these DIY ideas as much as we do? Stay up to date on our latest findings by liking our facebook page at Home and Heart DIY Facebook!

Transform a cheese grater into a beautiful  DIY Cheese Grater lantern! This would be great for inside or out! I love this look and can’t wait to hit the thrift stores to see what I can find!
DIY Cheese Grater Lantern


DIY Cheese Grater Lantern
Aren’t they beautiful?! For making the top lantern you will need: cheese grater, waterproof silicone glue, light bulb and cord kit, clamps or rubber bands, ceiling hook, and copper wire or gold thread. You will be amazed at how easy this is! Position the light bulb/cord where you want it to rest and clip it in place. Use silicone to glue to sides together-carefully place one grader on the other (this is if you are using flat or round graters-a box grater doesn’t need the glue). Once glued, secure with clips or rubber bands and let dry for 2+ hours. Screw hook into ceiling, hang, and enjoy! Simple right?! Off to the thrift store I go! Follow the link to find out more on DIY Cheese Grater Lanters! Camille Styles
(If you love the votive look and want something without the glue and clams-check out here)

Pin-up Girl Hair

Love these DIY ideas as much as we do? Stay up to date on our latest findings by liking our facebook page at Home and Heart DIY Facebook!

October 4th and I am starting to consider my Halloween costume. To early? I think not! Maybe Rosie the Riveter/Pin-up girl? An interesting idea. No matter what I settle on, I am going to try these amazing hair styles!

Pin-up Girl Hair


Pin-up Girl Hair

Some things shouldn’t be brought back around. Bell bottom jeans and belly shirts that say things like “Princess” should be left in the past! Vintage hair styles likes this? Absolutely need to be reintroduced! To make this happen you will need some bobby pins, strong strong hairspray, and hot curlers. Marlenka at The Girl Never Gets Older does such a fabulous job with her tutorial! You won’t be disappointed with Pin-up Girl Hair!

DIY Gel Nails

Love these DIY ideas as much as we do? Stay up to date on our latest findings by liking our facebook page at Home and Heart DIY Facebook!

I wish I could get a manicure every week! Who has the money for that?! Not me. DIY Gel Nails I can get on board with! Especially when it only costs $5.99!
DIY Gel Nails


3 simple ingredients is all that is needed for chip free polish and beautiful nails! You will need Sally’s Gelous (or another gel polish-probably from a salon or beauty supply store), your favorite polish, and a top coat. You are going to apply thin coats like crazy and dry about 45 seconds. In this order, apply Gelous, colored polish, Gelous, colored polish, Gelous, top coat, Gelous. These coats all need to be thin and they need to dry completly before moving on! Have fun with DIY Gel Nails! Check out-Hairspray & High Heels

DIY Bath Rugs

Love these DIY ideas as much as we do? Stay up to date on our latest findings by liking our facebook page at Home and Heart DIY Facebook!

I am such a klutz sometimes! I was cleaning the bathroom and ripped our waterproof shower liner. Oops. I still have a beautiful curtain, it just isn’t so water proof! A DIY Bath Rug is my quick fix for the extra water on the floor!

DIY Eco-Friendly Bath Rugs


Grab some old towels (2-3) and some gridded matting ( it is also called a latch rug canvas, rug canvas, or anti-slip mat). Cut the towels into 3/4 ” thick and 5-6″ long strips. Knot each strip along the grid (facing the same way). It is a little time consuming but your old towels have a new purpose and you have a new mat that will absorb tons of water! Perfect! This mat is literally throwing a towel on the floor soak up excess water! Link –The Craft Guild

DIY Double Cuff Bracelet

Love these DIY ideas as much as we do? Stay up to date on our latest findings by liking our facebook page at Home and Heart DIY Facebook!

Do you know about double cuffs and how they are big deal right now?! I am just learning and I am liking what I see! (If you don’t believe me, click here for a quick peak at some cuffs). DIY Double Cuffs are so cool!
DIY Double Cuff Bracelet

DIY Double Cuff Bracelet

Supplies needed: Metal circular cookie cutters, Scissors, Superglue, and Electrical tape. This may look complicated, but there is a great tutorial provided! I simplified the instructions below.
Step 1. Cut and inch out the cookie cutter (for the second cuff, with the different sized cookie cutters it will end up being more than an inch so they match in size). Step 2. Super glue the cookie cutters together. Step 3. Wrap electrical tape around the edges-the metal can be jagged after cutting. Step 4. Wear your new amazing accessory! Check out the tutorial  provided by I Spy DIY 


DIY Face Powder

Love these DIY ideas as much as we do? Stay up to date on our latest findings by liking our facebook page at Home and Heart DIY Facebook!

At some point in your life you will run out of makeup. The horror! You will run out of time or money for going the store. If you haven’t yet-you will! I have been stretching my face lotion and mascara out for about a week now which might be my personal best! This DIY is perfect for when you run out of foundation or face powder. DIY Face Powder that you can perfectly match to yous skin!
DIY Face Powder

DIY Face Powder
To make this amazing powder only takes 2 ingredients (besides your basic measuring tools, mixing bowls, and container for the finished product). If you have ever baked a single thing the chances are good that you already have theses supplies in your cupboard. You will need 2 T cornstarch and 1-2 T coco powder or cinnamon. Coco powder will word best for darker complexions and cinnamon for lighter. Add however much is necessary to get a color match. Sift your ingredients together and you are good to go. DIY face powder in under 5 minutes! Link-TfDiaries